
Here’s a complete step-by-step tutorial on how to downgrade from iOS 18.5 or iPadOS 18.5 to iOS 18.4.1 or iPadOS 18.4.1 on iPhone and iPad.
You Can Downgrade iOS 18.5 or iPadOS 18.5 to 18.4.1 on Your iPhone and iPad for a Limited Time
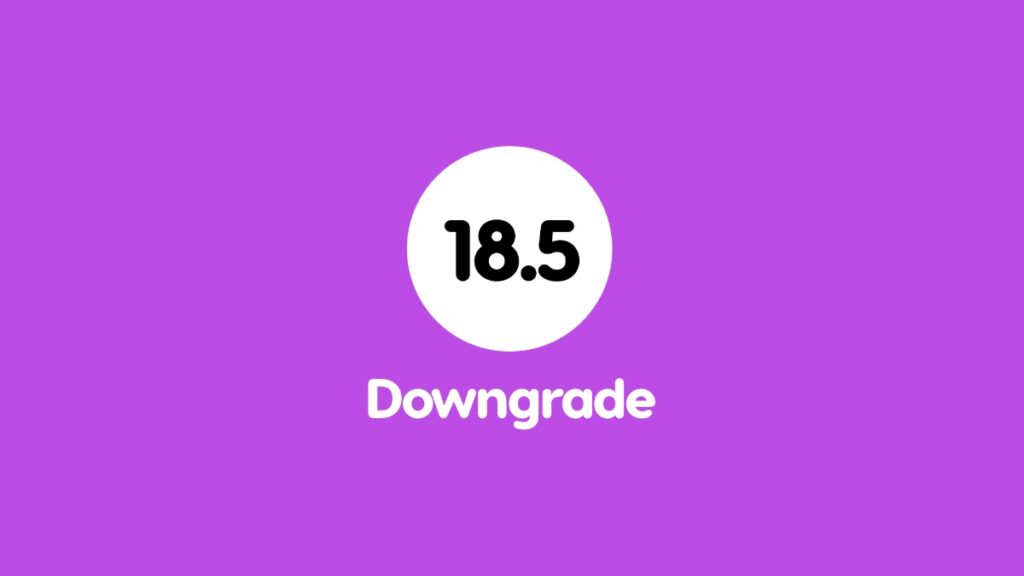
Update: Apple is no longer signing iOS 18.4.1 and iPadOS 18.4.1, which means you cannot downgrade from 18.5 anymore.
iOS 18.5 and iPadOS 18.5 updates are here. If you think the previous 18.4.1 update was far better for any reason at all, then you should be pleased to learn that you can downgrade right away.
Backup Everything
Just like a clean install, downgrading will erase your device and you’ll lose everything, unless you take a backup using Finder or iCloud.
Disable Find My
Not only that, you also need to turn off Find My, otherwise you won’t be able to restore the iOS 18.4.1 or iPadOS 18.4.1 firmware onto your device.
Download the iOS 18.4.1 Firmware File
Download the firmware iOS 18.4.1 or iPadOS 18.4.1 firmware file from the list below and save it to your desktop:
- iPhone 16e
- iPhone 16 Plus
- iPhone 16
- iPhone 16 Pro Max
- iPhone 16 Pro
- iPhone 15 Pro Max
- iPhone 15 Pro
- iPhone 15 Plus
- iPhone 15
- iPhone 14 Pro Max
- iPhone 14 Pro
- iPhone 14 Plus
- iPhone 14
- iPhone SE (3rd-generation)
- iPhone 13
- iPhone 13 mini
- iPhone 13 Pro Max
- iPhone 13 Pro
- iPhone 12 Pro Max
- iPhone 12, iPhone 12 Pro
- iPhone 12 mini
- iPhone SE (2nd-generation)
- iPhone 11 Pro, iPhone 11 Pro Max
- iPhone 11
- iPhone XR
- iPhone XS, iPhone XS Max
- iPad mini 7 with A17 Pro
- iPad Pro 11-inch (M4), iPad Pro 13-inch (M4)
- iPad (A16)
- iPad Air 11-inch (M2), iPad Air 13-inch (M2)
- 11-inch iPad Pro (4th-generation), 12.9-inch iPad Pro (6th-generation)
- iPad Air (5th-generation)
- 10.2-inch iPad (10th-generation)
- 11-inch iPad Pro (3rd-generation), 12.9-inch iPad Pro (5th-generation)
- iPad mini (6th-generation)
- 10.2-inch iPad (9th-generation)
- iPad Air (4th-generation)
- 10.2-inch iPad (8th-generation)
- iPad mini (5th-generation), iPad Air (3rd-generation)
- 11-inch iPad Pro (1st and 2nd generations), 12.9-inch iPad Pro (3rd and 4th generations)
- 10.2-inch iPad (7th generation)
If you’ve done everything above, you’re now ready to downgrade your iPhone and iPad.
Step 1. Connect your iPhone or iPad to your Mac using a USB-C cable.
Step 2. Launch Finder and you’ll see your device listed on the left. Click on it to reveal more options.
Step 3. On the right you should now see a Restore iPhone or Restore iPad button. Hold down the Option key and click on it.
Step 4. A pop-up window will now appear. Select the iOS 18.4.1 or iPadOS 18.4.1 firmware file.
Step 5. Finder will now start to extract the contents of the update and restore it to your device. The whole process can take anywhere from 15 minutes to half an hour.