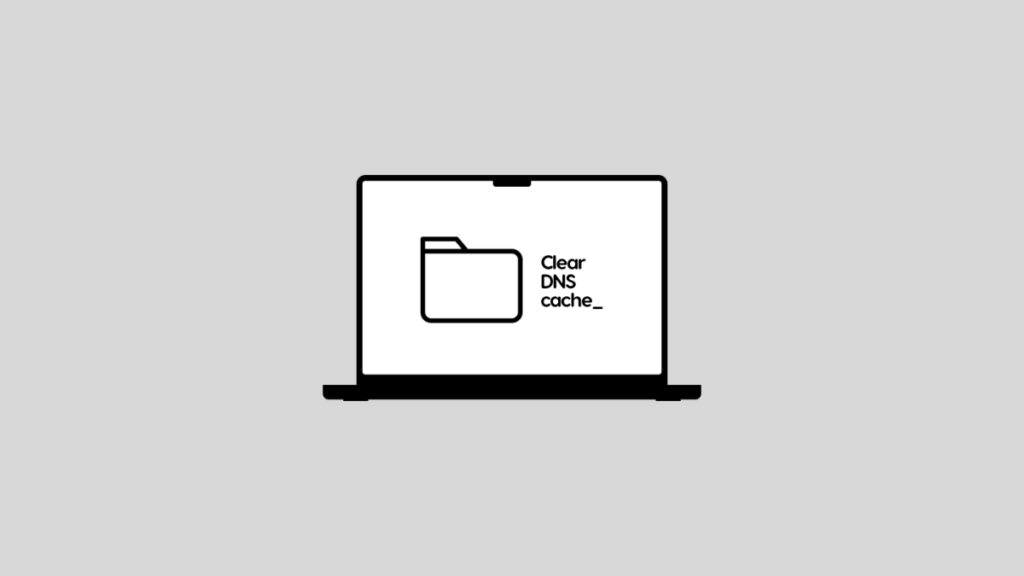

Today I will show you how you can flush the local DNS cache on your Mac using a simple Terminal command.
Fix Internet Issues by Clearing the Local DNS Cache on your Mac Using a Simple Terminal Command, Try it Out Today
Your Mac creates a log of all the DNS addresses whenever you visit a website. This means the next time you visit a website, instead of just pulling the address again from the internet, it accesses the locally created log and saves time.
But, if a website recently migrated to a new DNS server and your Mac is trying to access it using the address stored locally, then you might run into problems. This is where you want to clear the local DNS cache and allow your Mac to create a new log with fresh addresses.
Believe it or not, flushing the local DNS cache actually fixes a lot of internet-related problems which you might be having. This is something you should be clearing from time to time, too.
Thankfully, flushing the cache is easy and all you have to do is type in a Terminal command.
Step 1. Launch Terminal. You can just bring up Spotlight search by pressing Command+Space together and type Terminal. Hit the Return key to open.
Step 2. Simply copy the command below and paste it into Terminal:
sudo dscacheutil -flushcache; sudo killall -HUP mDNSResponder
Step 3. You will be required to enter your Mac’s administrator password, which is the password you use to log in. Type it in and hit Return to apply the command.
Make sure you’ve copied the command properly. If there is an error, it means the command was entered incorrectly.
Again, I will suggest clearing the DNS cache on your Mac from time to time, especially if you want your internet running nicely and smoothly.
Whenever there’s a DNS migration on the site you’re visiting, your Mac will instantly get new addresses if it can’t find anything locally after clearing the cache.