

Here’s a complete step-by-step tutorial on how to restore the HomePod mini firmware using Finder on your Mac.
Restore HomePod mini Firmware Using Your Mac and Start Fresh
If you run into any sort of problem on your HomePod mini, you will be interested to learn that you can restore its firmware yourself, at home, using your Mac.
The thing that makes this possible is the USB-C connector that plugs in the power adapter. Instead of plugging it into power, just plug it straight into your Mac, and you can restore your HomePod mini firmware in a matter of minutes.
While the process seems straightforward, I’m going to show you the right way to restore a HomePod mini using your Mac so you can start fresh, or if you plan to sell it to someone else.
Remove HomePod mini from Home App
You can skip this step completely if your HomePod mini is completely unresponsive. But, if you want to start fresh then this step is important.
Step 1. Launch the Home app on your iPhone, iPad, or Mac.
Step 2. Find your HomePod mini in the list of devices and click/tap on it.
Step 3. Click/tap on the Settings button on the bottom right.
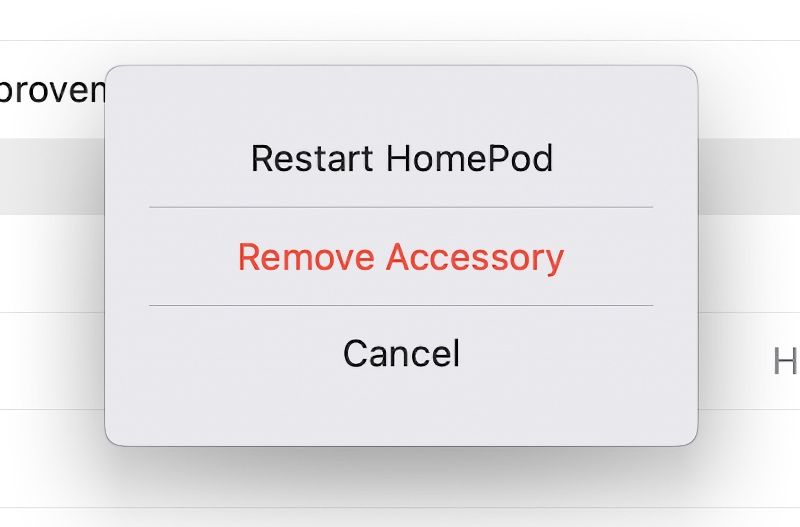
Step 4. Scroll all the way down and then select Reset HomePod.
Step 5. Now select Remove Accessory.
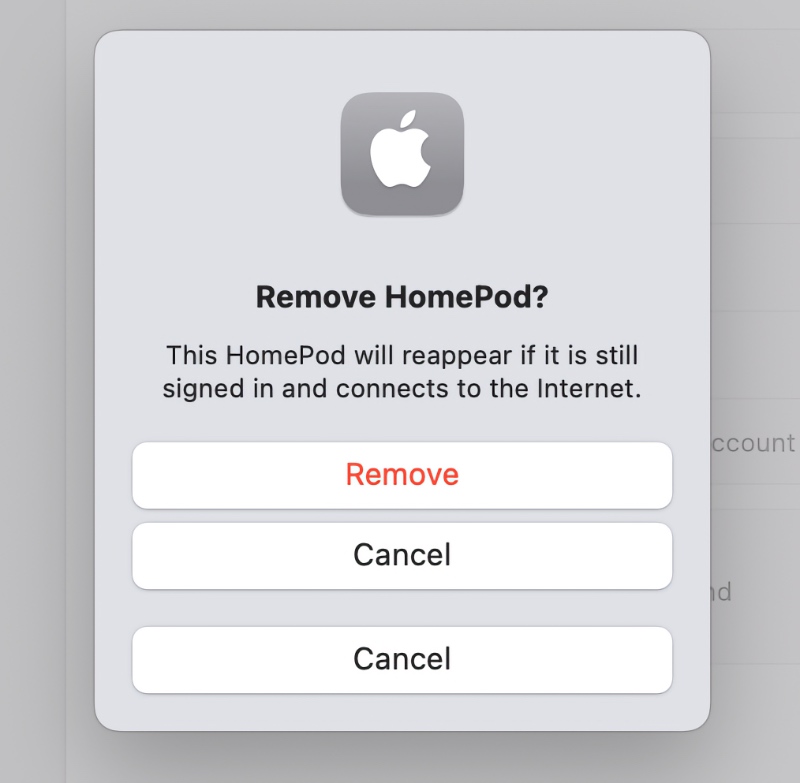
This may take a while but once you’re done, move on to the next step.
Remove HomePod mini from Find My
Make sure you remove your HomePod mini from Find My before going forward. And it’s actually pretty easy too.
Step 1. Launch Settings on your iPhone or iPad, or System Settings on your Mac.
Step 2. Tap on your Apple Account at the top.
Step 3. Scroll down and you’ll see all of your devices associated with your Apple Account. Find your HomePod mini and click/tap on it to open.
Step 4. Now simply click/tap on Remove From Account.
Step 5. Confirm by selecting Remove.
Restore HomePod mini Using Finder on Mac
Step 1. Unplug your HomePod mini USB-C cable from its power adapter.
Step 2. Connect the HomePod mini to your Mac’s USB-C port.
Step 3. After a few seconds, you’ll see a flashing orange light on the top of your HomePod mini. This means your HomePod is connected to your Mac.
Step 4. Launch Finder.
Step 5. After a few seconds your HomePod mini will appear on the left. Click on it to open.
Step 6. Click on the Restore HomePod button.
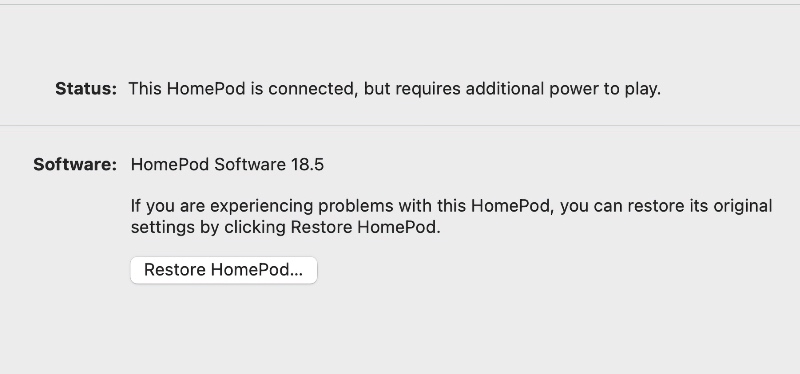
Step 7. Click on Restore to confirm.

Step 8. Finder will now start to download the latest firmware file from Apple’s server and then restore it onto your HomePod mini. This may take a while if you have a slow internet connection.
Step 9. Finder will ask you to unplug your HomePod mini from the Mac when the installation is complete.
Step 10. Connect your HomePod mini back to its power adapter and set it up again, if you like. Or, if you plan to sell it, then give it a nice wipe using a microfiber cloth and pack it away.