
Here’s how you can switch from Clear to Tinted Liquid Glass on iPhone, iPad, and Mac running iOS 26.1, iPadOS 26.1, and macOS 26.1 Tahoe.
Apple Now Lets You Choose Between Clear or Tinted Liquid Glass on iPhone, iPad, and Mac
Liquid Glass can be very polarizing, and users have been looking for ways to tone it down a little without completely losing the glassy effect. Thankfully, Apple knows this as well, and has introduced a new option for users with the release of iOS 26.1, iPadOS 26.1, and macOS 26.1 Tahoe.
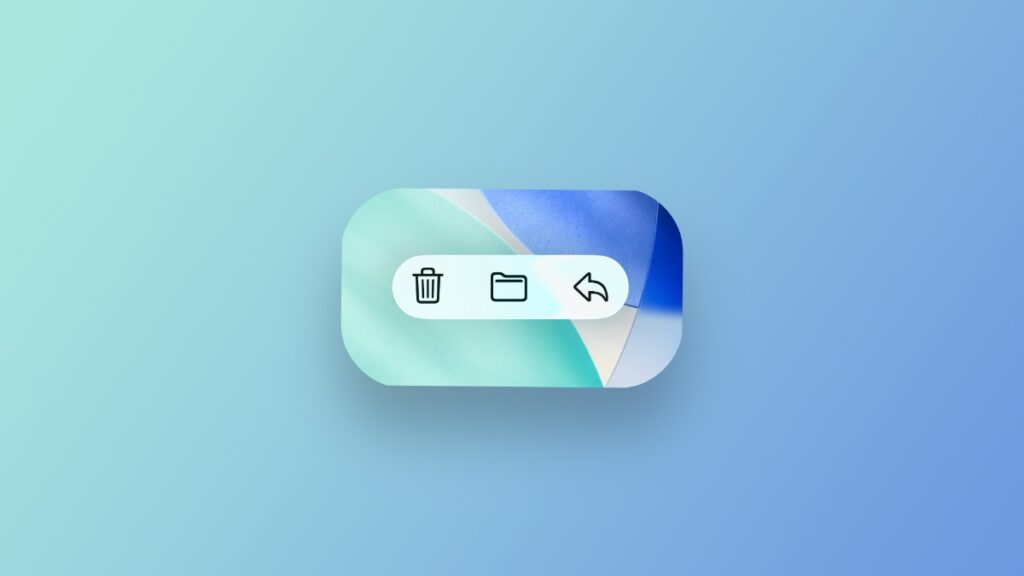
What Apple has done is quite genius. It now gives users two options to choose from – Clear and Tinted. The first one is the regular version of Liquid Glass, allowing you to see your content clearly under buttons and menus. But this option may cause readability issues in certain cases.
That’s why the second option called Tinted now exists. Once enabled, it keeps the glassy effect there, but tints the buttons in such a way that readability is never an issue throughout the operating system.
This option is available for iPhone, iPad, and Mac users. And I’ll start with iPhone and iPad, then we will work our way up to the Mac.
iPhone and iPad
Step 1. Launch the Settings app.
Step 2. Find Display & Brightness and tap on it to open.
Step 3. Tap on Liquid Glass.
Step 4. Now either select Clear or Tinted.
Mac
Step 1. Launch System Settings.
Step 2. Click on Appearance on the left.
Step 3. Right at the top you’ll see Liquid Glass.
Step 4. Choose between Clear or Tinted.
As someone who loves Liquid Glass, I’m actually impressed with Apple’s implementation. It doesn’t take away the whole thing and keeps Liquid Glass as subtle as possible.