
If you just downloaded and installed WhatsApp on iPad, let me walk you through the setup process one step at a time.
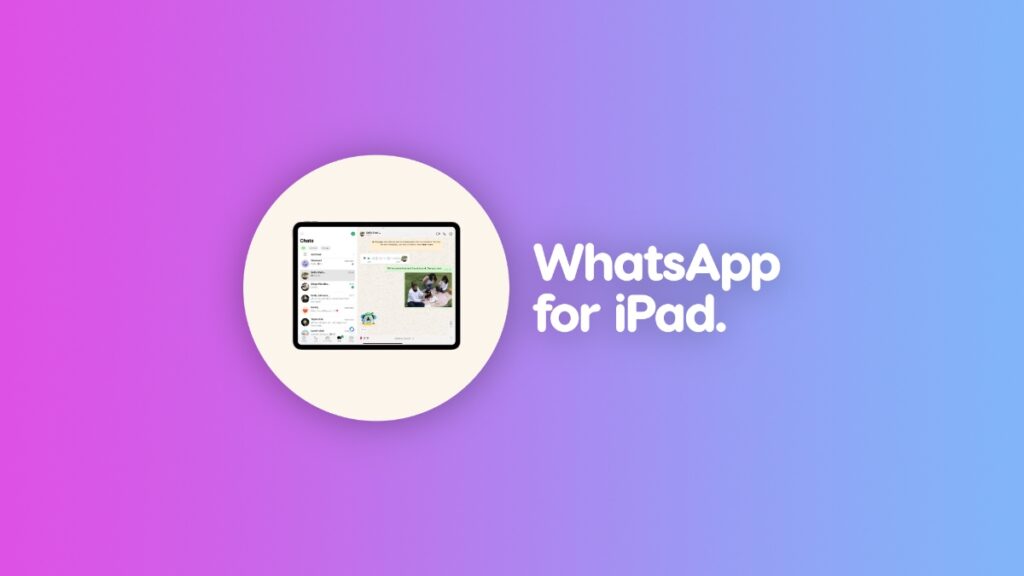
WhatsApp for iPad is Finally Here, Here’s How You can Set it up and Start Using it Immediately
WhatsApp for iPad is finally here, and there are a few things everyone should know.
First of all, it’s in beta, and Meta is not shy to show the massive ‘Beta’ badge on the main screen either.
What this means is, you can expect the app to be rough in some areas, but it will mostly work just fine when it comes to core functionality such as sending a message.
Secondly, you need to be signed up to WhatsApp using an iPhone or Android phone already in order to use the iPad app.
If you’re already signed up, then this is how you set up WhatsApp for iPad:
Step 1. Download WhatsApp for iPad from this link.
Step 2. Launch the app once it’s installed.
Step 3. Right on the main screen, you’ll see a big Continue button. Tap on it.

Step 4. You’ll now be presented with a QR code with instructions on how to transfer all your chats to iPad.
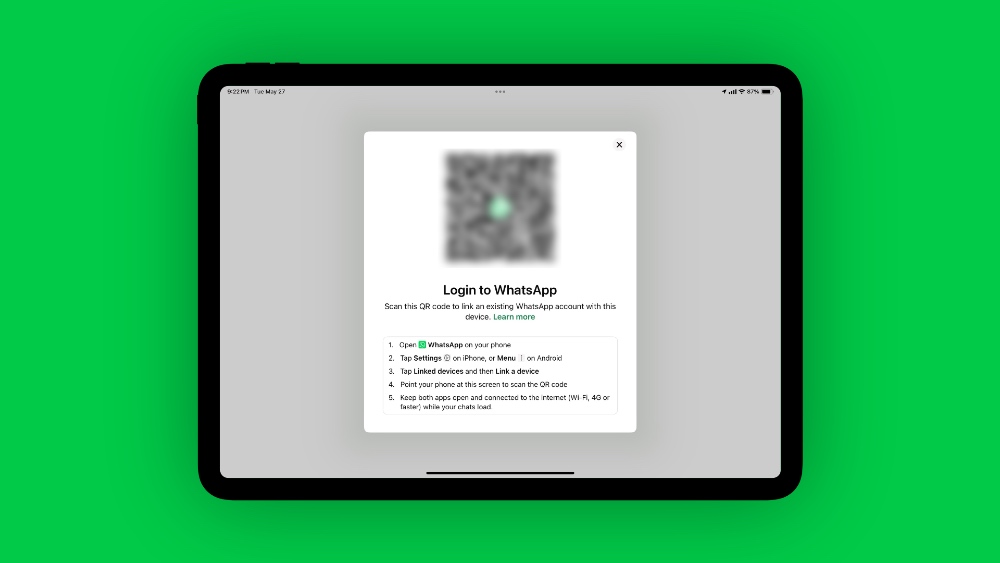
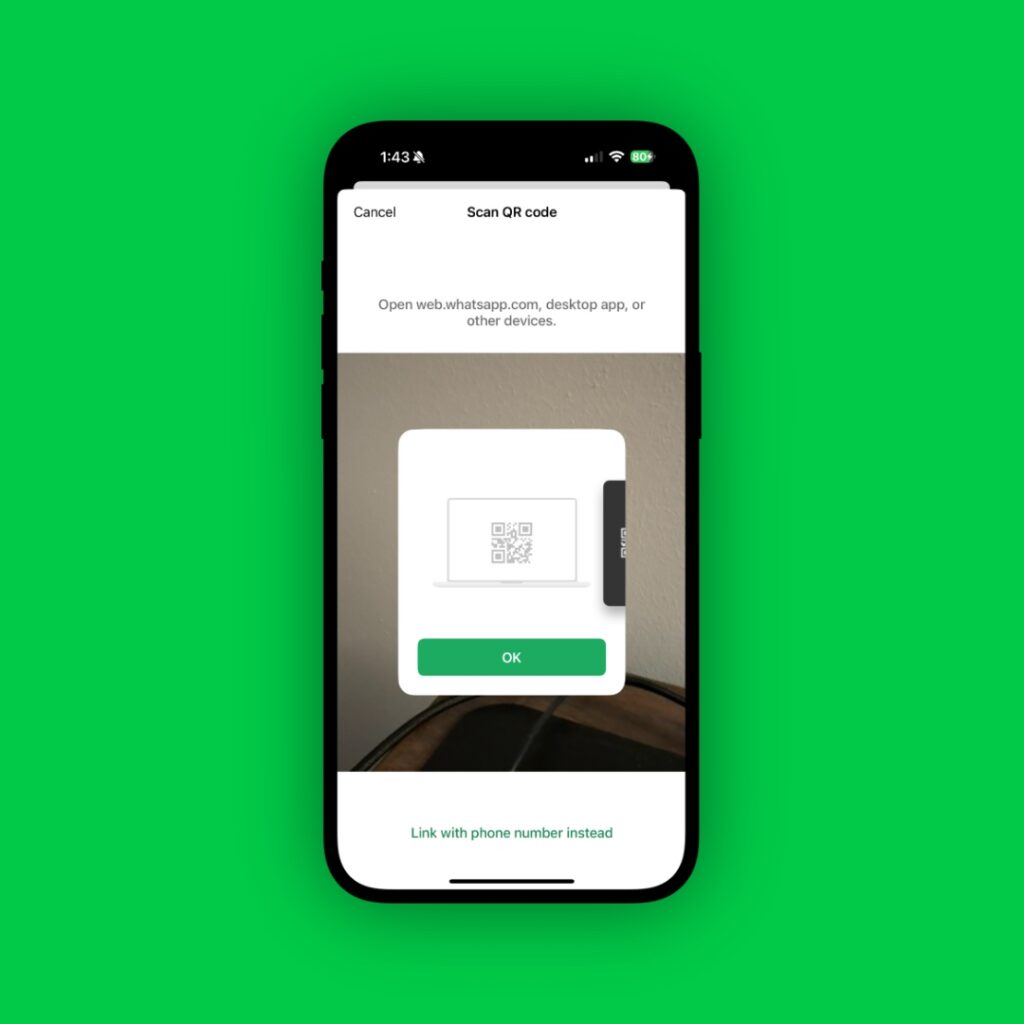
Step 5. Pick up your iPhone, launch the WhatsApp app, tap on the Settings tab at the bottom, then open ‘Linked devices.’ Once here, tap on the ‘Link device’ button at the top. Once you do that, the camera will launch, asking you to point your iPhone to the QR code. Do that and your iPad will start syncing your chats.
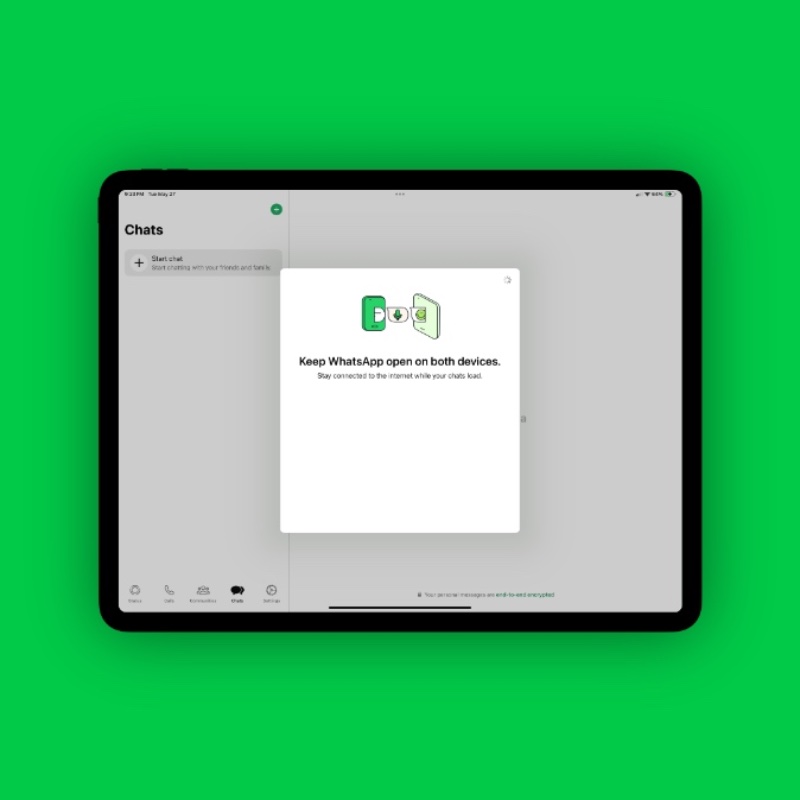
Step 6. WhatsApp will now start syncing your chat from your iPhone to iPad. During this process do not close the app on either devices. It won’t take that long for everything to complete.
Once everything is complete, you can start sending messages like you normally do from your iPhone, but instead, from a way bigger screen of the iPad.